
Hi there! Today, I want to share a project using the Tim Holtz Configuration Box, which has been altered into a shabby chic nesting box. Nesting. Emm.. Well, I call it 'nesting' since I can stuff things inside them. Lol! Its just my own definition...
This project is for Scrapbook Memories (SM) and it will be displayed in the store soon. I have been getting my supplies from SM since many years back; probably the time I started to do glass paintings. That time, they had different name but the same company origin. Over the years, I think that customer - supplier relationship has grown to become good friends. I like it that they always have something new to explore at the shop and that they are always friendly enough to exchange ideas or to demonstrate new techniques on the spur of the moment. Excellent. And they give good discount too.
This configuration box was given to me by SM and they have asked me to come up with well...anything at all. It took me quite some time to decide what I wanted to make out of it. I have never worked on Tim Holtz's Config box before.
I took 3 boxes out and glued them on the sides; well after I have painted them firstly with gesso and then with Martha Stewart paint in pastel green. Only then did i realised that I'll be working on a shabby chic's theme. I have layered the base of all boxes with patterned paper by DCWV- Mariposa and purposely chose the theme of the paper, which is Butterflies and Moths to be in the main box.
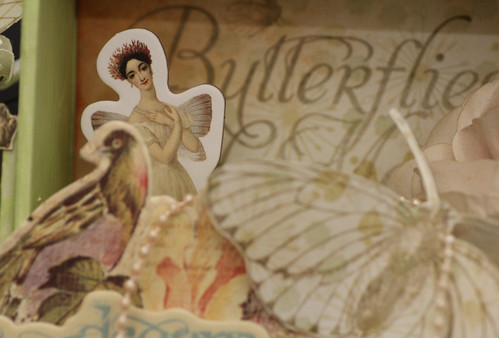
I have inserted a light pink rose ( balance from my wedding; few years back..hehe) in the main box and it settled quite nicely in it. Lol! I have added a chipboard of a ballerina girl (but with wings!) and secured onto the base. Looks as if she's standing quite independently on her own ...(using a double-sided tape!). I have also fussy cuts the flowers and butterflies from the same pp and glued on the edges.
( now that I got the hang out of my macro lens, below are few macro shots-still exploring!)
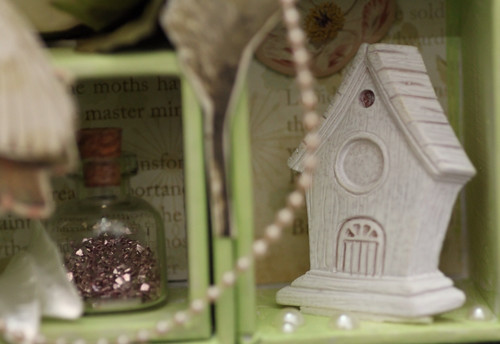
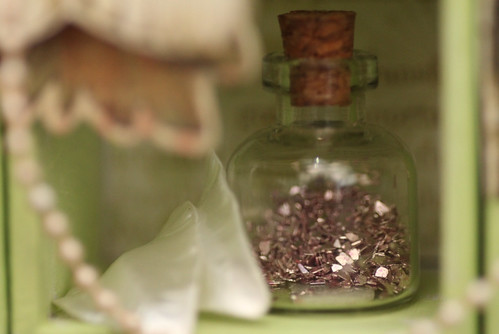
Above is the shabby chic resin bird house by Prima and an apothecary bottle filled with mica flakes.

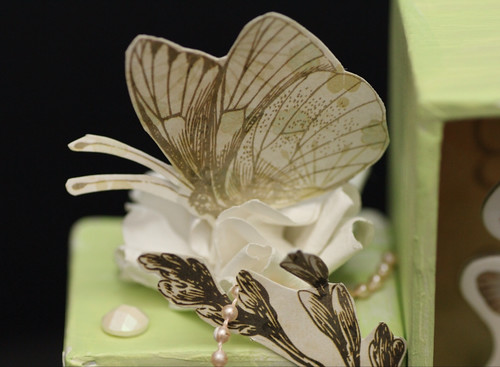
A butterfly on Prima white flower.

Above is a chipboard sticker, which I have layered with cardbox and it's actually quite springy!
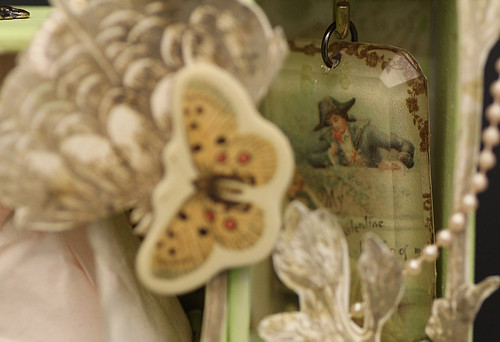
I have also used Tim Holtz's Facets, and glued onto it a die cut image from Kaisercraft. I have used a hook, which was screwed to the top of the box and later hung the facet when dried.
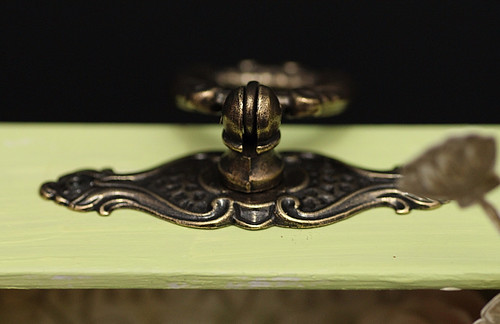
Last but not least, I have added an antique looking wardrobe handle onto the top of the main box. A handle so that it can be carried anywhere you like...
Thanks for stopping by and have a nice day ahead! Ciao!
Materials used:
Patterned paper: DCWV - Mariposa
Chipboard stickers: Prima and Kaisercraft
Die-cuts: Kaisercraft
Shabby chic resin bird house: Prima
Facet, accoutrements and trinket pin: Tim Holtz Ideology
Paint: Martha Stewart
Flowers: Prima, my own collection and one from D'Nata
Pearls: Queen and Co
Crystals: Prima
DELIGHTFUL nest! With so many pretty eggs LOL. I love everything you put in there. And great photo shots, I have fun peeking. (o boy ... now I can't sleep)
ReplyDeleteThanks Shahrul! These eggs won't hatched....ehehe....
Deletehaven't been here for so long and saw this in FB, fabulous work Nida and I like it a lot. you did the lego for him....totally awesome!
ReplyDeleteThanks Yuzz... Yeah I did that lego for him...16 hours youuu......
Delete