Thursday, January 26, 2012

Key to My Happiness -a scrapbook layout


Hi there! Are you looking forward to the weekend already? I know I am...lol! Gosh...can't imagine the work load now in the office. I'm preparing for an upcoming assignment at work soon....and I have never done it before in my life! And the worst part is, people are expecting me to know everything! 
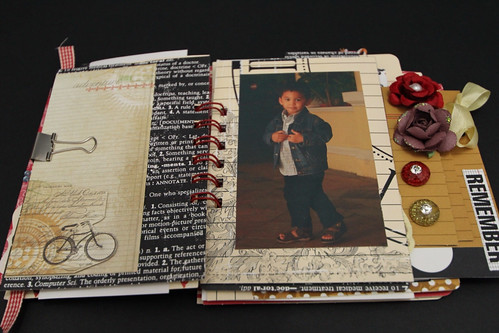
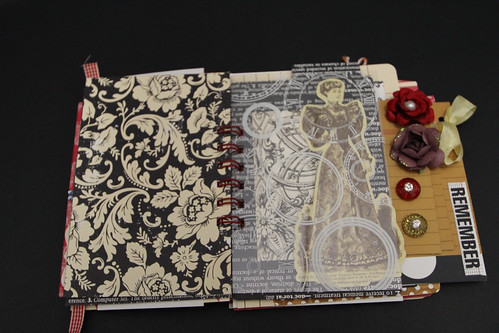
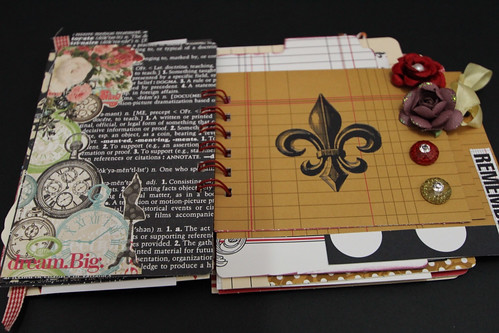
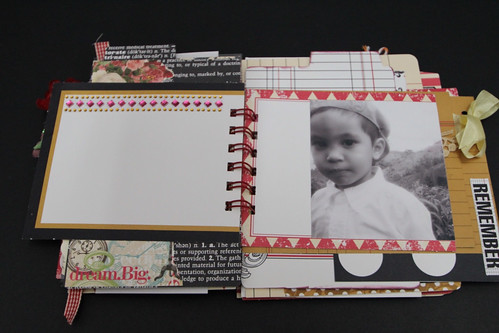
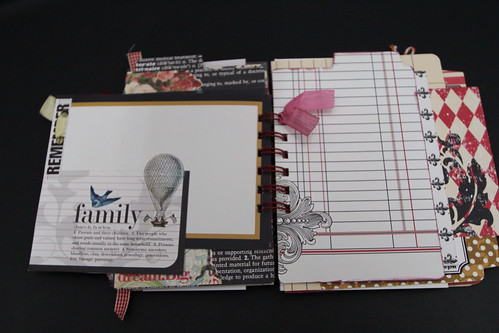
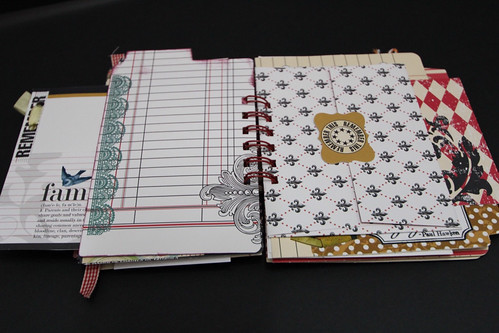
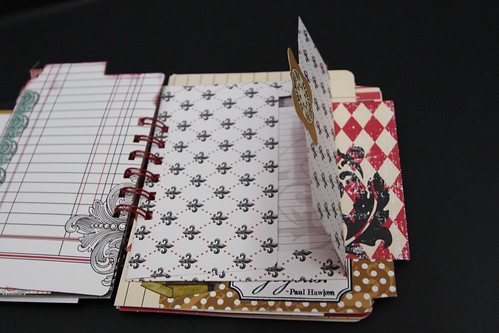
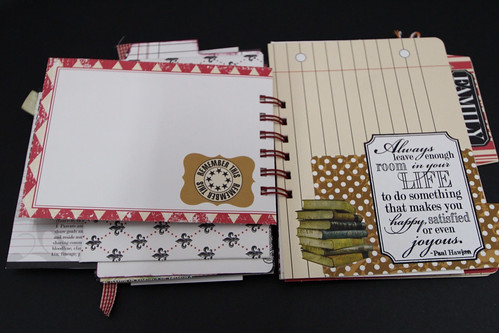
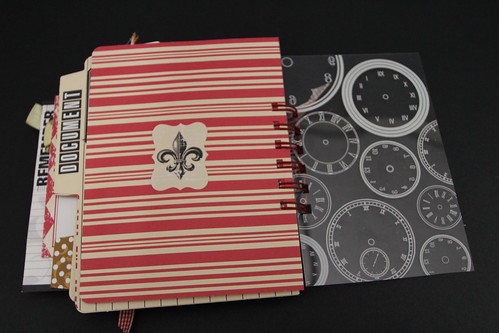
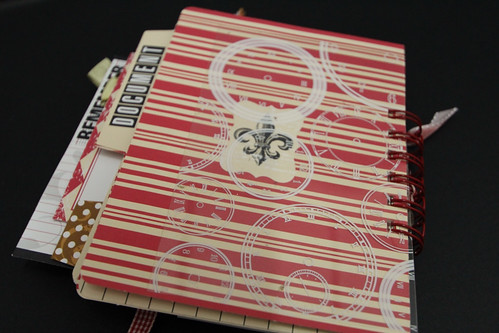
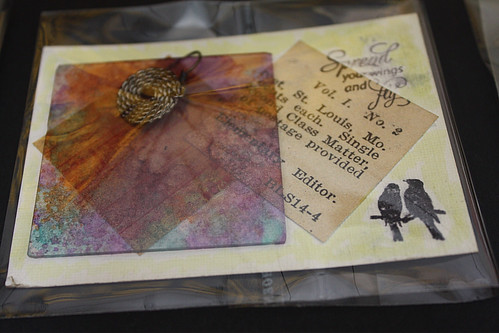
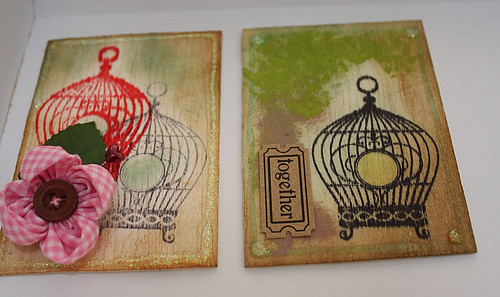
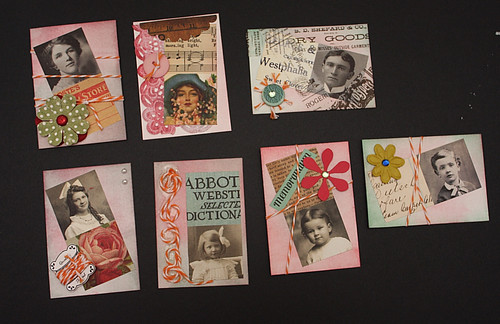
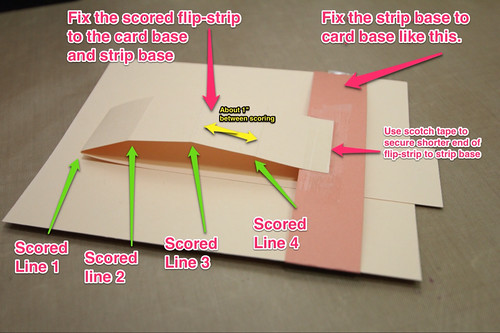
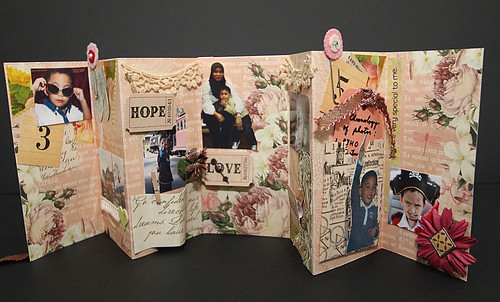
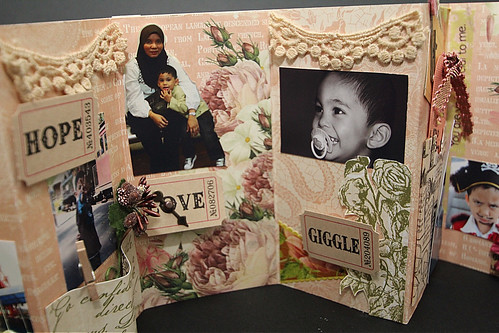
Anyways, work aside; here is a scrapbook layout that I did using the technique called ' belasah ajelah'. Really! When I was doing this, I think I must have uttered the word ' belasah aja lah' almost 3 times...hehe...some of the things turned out not quite as I expected it to be. But that's Ok... It's art...hehe...
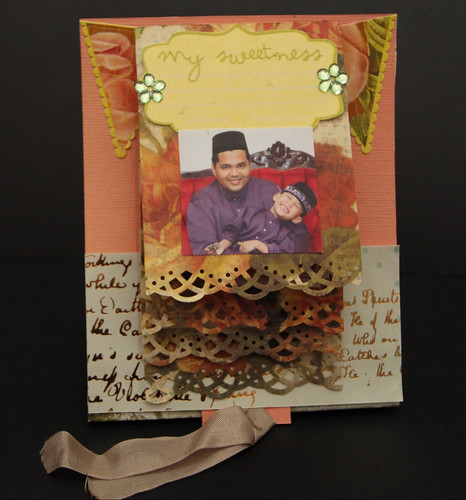
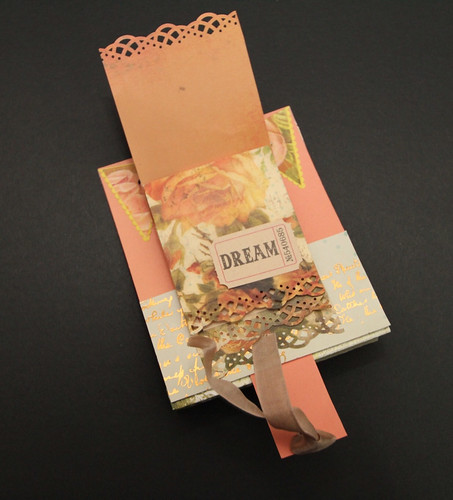
I have actually created this for the challenge Sketch #116 at Let's Capture These Sketches (LCTS). 
Materials used:
Paper: Pink Paislee
Pp: Glitz Design
Trinkets: Bo Bunny
Stamp: Tim Holtz & Hero Arts
Chippie: Dusty Attic

TFR & L! Ciao!

Bon Voyage - Nautical Card


Hi there! Happy Thursday! It's Friday tomorrow...and then yayyy!! another weekend! Well, today I just want to share with you a card that I made for the challenge over at 365 Cards. The theme for Day 331 is Nautical. I haven't been playing in 365 Cards for quite some time. So, when I saw the theme for Day 331, I knew exactly what I wanted to do. It's actually based on a card that I did for my son's birthday last year. Instead of a die-cut fishing reel as per the original birthday card; I have stamped a ship and an appropriate sentiments to go with it this time.

I have used cardboards to stick the sea waves onto the card to give it a 3-D effect. On the original card, it looks as if the fish is jumping right out of the water as it is being pulled by the fishing reel... Hehe....I wish I can post the original card too but, unfortunately, I don't have one with me.

So, stay tune for more crazy projects from me. Ciao!

Materials used: 
Stamps: Hero Arts & Technique Tuesday
Ink: Ranger

Wednesday, January 25, 2012

Mini Album - True Story

Hola! Hi there! Hope you had a good long extended weekend! I think I did! Lol! I get to do a few craft works for Papier as well as for my own. Here is a mini album from the Teresa Collins A Documented Life Album kit, which I received from Scrapbook Memories. Thanks Choo! 
I didn't really follow the instructions given with the kit. I just compiled them as I like it. That's always me! Lol! Soon, this mini album will be scribbled with my thoughts on life, pictures and what nots. Please bear with me on the numerous shots here. Can't help it with my new Dslr....hehehe...
This mini is definitely going to be filled up with more embellies as I go along journalling on it. Thanks for stopping by!
Materials used:
Sweet Nothing's rub-ons by Kaisercraft -all of it..lol!
Shabby chic frame - Melissa Frances
Flowers: Prima
Sparklers, Dazzle Me Gems and pp: Webster's Pages
Die-cuts: Kaisercraft
Pp: October Afternoon


Thursday, January 19, 2012

ATCs

 Hola! Hi there! These are some of my new ATCs that I've managed to whipped out couple of weeks ago. I like doing ATC. Its size makes it pretty quick to complete. Below are from the 'Frosted Memory' series. I have used alcohol inks by Ranger. I love alcohol inks! They do wonders! Interesting. I am definitely gonna make more with it! Lol!
Frosted Memory series

The ATCs below are made on some kind of wood..; maybe balsa wood? I dunno. Forgot to ask the seller. I bought it from an art shop near my place. It's very thin and easy to cut and you can stamp or even paint on it. Stamping can get a lil' bit smudgy if you are not careful. So, be careful. 

These ATCs below are from the Vintage Images series. I have used Tim Holtz's distress inks from the winter collection by Ranger.

So, that's news on ATCs. If you wanna swap, I'm just an e-mail away!
I'm working now on my Teresa Collins mini album, which came in a kit and I got it for free ( yayyy!!) from Scrapbook Memories!. Thanks Choo!  So, watch this space for more crazy artwork from me! Crazy aaa? Lol!
Ciao!

Wednesday, January 18, 2012

Waterfall card - with simple step by step tutorial for Papier

My Waterfall Card for Wednesday at Papier
Materials used for this waterfall card:
Base card: Bazzil Basics
Pp for waterfall card: Glitz Design (DT kit), DCWV and Pink Paislee
Adage tickets: Tim Holtz Ideology
Punch: Martha Stewart
Stickers: from my DT kit - last pieces of it
Rhinestones: Hero Arts
(maybe I'll work on more embellies...ha ha)


On my post for this week at Papier, I have decided to do a waterfall card. You may also would like to see my previous and happened to be the first waterfall card project I ever did. Check it out here!
I wouldn't say that making a waterfall card is easy and neither am I saying that it is difficult. Everyone can do it. All you need is preseverance. Really. You need to do quite a number of measurements before you can actually start cutting your beautiful papers. Once you get the hang of it, it's really easy for you to alter however you wish as you go along making it. Just like I did. And.. I think all my waterfall cards ( if I ever going to do more soon); each will be its own unique piece. Different from one another. How fun! 
So, I have created a simple step by step tutorial and forgive me if you find it confusing and boring. There are few photos to help you through the tutorial as well. If you have any comments on my tutorial, I would certainly be pleased to hear it. 
Have fun creating!
(by the way, the tutorial below also appears in Papier's blog page. Just making a credit here...hehe)
WATERFALL CARD TUTORIAL 
 1. First thing, you will need a sturdy card as the base for the waterfall card. Here, I have used Bazzil Basics, of which I have cut about 4.5 x 6" in size. 
 2. Now we need to prepare the 'flip-strip'. I called this the flip-strip because this is the mechanism to flip the waterfall card later. The size of the flip strip I have used here is about 10x1" (length x width). 
 On the flip strip, we need to do some scoring on equally interval places on it to create as placement for the waterfall card later. Firstly, fold the flip strip in two so that you will have a 6" length on one side and a 4" length on another.On the shorter side of the flip-strip, we will work on the scoring now.

We need to score on 4 places on the shorter strip with each being 1" from one another. The topmost (scored line 1) of the score will be the one that you have scored earlier to create the 6" and 4" length on the strip. Now, just add three more downwards at 1" interval as explained before.
Now that you worked on mostly what is required for the flip-strip, let's put it aside for a while.
3. Now, we want to work on what I called the 'strip-base'. Basically, it is just a strip of paper (preferably as sturdy as the base card), which you need to paste lower mid-length of the base card that we worked on earlier to create a foundation for the flip-strip to work. 
Get anything from your scrap and cut out about 1x4.5". Just glue on the ends of this strip-base to your base card. Just on both of the ends and not the whole thing. The middle portion of it has to be free since this will create a path for the flip-strip to slide in and out. 
4. Now take your flip-strip and lay it on the base card with the shorter one facing up. You will need now to secure the end of the shorter length to the strip-base. Secure it with glue or just a scotch tape. It should not move when you are pulling the flip-strip in and out later. 
Now, you can put on a nice cover for the base card to hide the strip-base and all the Scotch tape. You can use similar paper like the one for the card base or choose another to your liking. Cut out about 2.5x4.5" out of the paper. The width of this cover should be the same as the card base and the height should be reasonably good in order for the waterfall card to be pulled inwards later. I have use height of about 2.5" in this example. Again, just secure it on the ends only, to the base card. 
5. Now, test your flip-strip. If its OK, let's try now placing the waterfall cards. We need to create 4 waterfall cards of about these sizes:
  1. 1st page: 3x4"
  2. 2nd page: 3x4.5"
  3. 3rd page: 3x5"
  4. 4th page: 3x5.5"
Once you have prepared the waterfall cards, start fixing it on the flip-strip. Start with the smallest one first and fix it to the lowest scored end of the flip-strip. Work your way up to the biggest card being on top. Now, you can already see the waterfall-like pattern on the card. Try pulling the flip-strip i.e. the longest end down. See how the cards start to flip outwards when you pull and flip inwards when you push in the flip-strip. You're almost done. What left to do now, is the card stand; as per my example as shown.
(p/s: please excuse the clutter on my working desk hehe. The more I try to keep it clean, the messier it becomes. Funny, eh? Can anybody testify to this? Lol! )
6. For the card stand, all you need is something from your scraps or  choose any coordinating colours of pp to your liking. In my example here, I have used a piece of paper from my scrap of about 8x4.5". The width shall correspond with that of the base card's. Score at 0.5" and 1.5" on one end only. Fix the first scored line to the bottom of card base and the other it's top. It creates a stand for your waterfall card. Of course, it's up to you to use your imagination to create this. (somehow, writing on card stand is the hardest part for me to do. Lol! But I guess you'd probably know what I'm trying to say anyway, yes?)
 

So, there you go folks! I do hope this tutorial is easy enough for you to create one on your own. 
To all celebrating the Chinese New Year; Gong Xi Fa Cai. 
Ciao!

Wednesday, January 11, 2012

Tioman

Hi there! I don't think I will have a sound sleep tonight. Just want to write cos I'm really bored in my room now. Lucky enough I brought a story book with me but the lights in the room is pretty dim and my eyes are getting a lil' bit watery from reading now. There's no tv, but that's fine really. I just have to play my collection of songs in my iPad or iPhone. The resort where I'm staying now is just a couple of meters away from the beach and I don't think it's a good idea to stay too near to the beach especially during the monsoon season. The waves are so strong and the tides are coming and, the sound; well its like a big roaring machine out there. I don't think I will get a good sleep tonight. That's fine, I can sleep during the flight home tomorrow.

I'm sleepy really.....here's a photo of the beach in Tioman. At the point where I stood and took this picture earlier at around 6pm; the water has already risen and covered the sand completely now at 10pm.

Be back tomorrow with crafting work. I will try an upload my completed ATCs, which I did recently. They are of these series:
1) Vintage Faces
2) Time Waits For No 1
3) Bird Cage
4) Frosted Memory

Good night and sleep tight!

An Accordion card for Wednesday at Papier!

Hola! Today is my turn to post at Papier. This is my second project for Papier and feels like I'm running out of ideas already. Lol! Not sure how and where I got this idea from but it must be those accordion album that I have bought quite a while ago and thinking of doing a mini out of it.

I just call it an accordion card. It's actually made from a single 12x12 inches patterned paper of which I have cut it into half. I have scored on 3 interval of equal spaces on both and overlap both ends of each to create the length.

It can stand on its own but if you wish to keep it away, you can also fold and secure it with the ribbon lace, which is tucked around the back of the card. Quite simple, yes?

I'm in Tioman Island now. Took the flight this morning and had a rough landing cos the wind was so strong and it was raining heavily. We walked about 30 mins to the project site and spent there about 3 + hours and walked back to our resort about 45 mins of walking! We didn't get a car since we thought it would be fun walking ( actually that was my idea. Lol! ) The soles of my shoe came off and I can feel the wetness up to my socks! Had to get myself a slipper so now I'm walking around with a very fancy one! (no, they don't have a real decent looking slipper here! They are all colorful with fancy prints on it ok! ). I'm gonna rent a bicycle later and cycle around the village. That should be fun......ciao!

Materials used:
Patterned paper: Webster's Pages (DT kit)
Adage tickets: Tim Holtz Ideology
Game spinners: Tim Holts Ideology
Tissue tape: Tim Holtz Ideology & American Craft ( dear lizzy )
Lace: available at Papier
Altered paper clip: from my DT kit
Decorative stickers: from DT kit
Naked pockets: 7 Gypsies
Flowers: Kaisercraft
Brad: Making Memories ( DT kit )
Eyelets: We R Memory Keepers
Stamp: Hero Arts
Ink: Ranger

Till then! Ciao!

-Nida-

Wednesday, January 4, 2012

Live Free - a scrapbook layout for Papier

Hola! Happy Wednesday! Today is my first post at Papier's blog. What a coincidence that I was born on Wednesday too! Lol! The materials that I have used here are mostly from the DT kit that I received from Papier. I have used some from my own supplies as well and hopefully it meets the limit allowed.
I don't think I have used the wrong-side of a pp before in any of my layouts. When I first saw this paper, I instantly knew that I must work on the wrong-side because I just have the right photo for it. So I did, and there it is. It was fun doing this cos I got a lil' bit high on imagination and created that lassoed leather string and tucked it nicely on the horse's head! I've always loved horses! Wanted a pony once but I got a cat instead! Old story....lol!
Do visit Papier's blog and read more from there....Ciao!
Materials used for this layout:
Main pp: Webster's Pages - Western Romance collection
Paper die-cuts: October Afternoon
Other pp's: Kaisercraft & Glitz Design
Facets and Pen Nibs: Tim Holtz Ideology
Twine: My Mind's Eye Lime Twist
Distress ink: Ranger - Evergreen Bough
Chipboard stickers: Prima
Flowers and ticket ephemera: from Maya Road Shadow Box Kit
Lace: available at Papier
Paper distresser: Ranger
... And of course..my own stapler (lol!)
Thanks for reading and looking!
Happy Crafting!

LinkWithin

Related Posts Plugin for WordPress, Blogger...