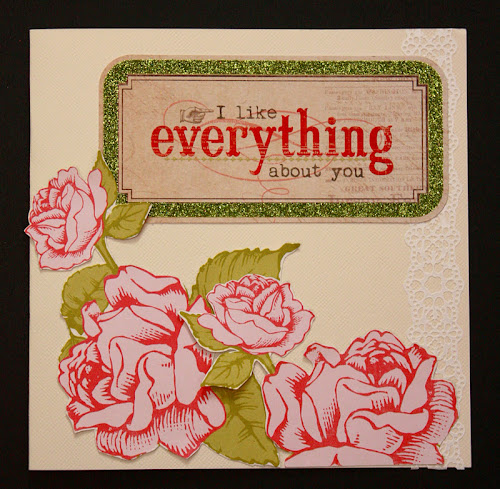


Hi there! I found these few great images ( apart from many images that I have downloaded to my computer ) and was thinking that it would be great if I can make a stamp out of it using my TC stampmaker. I have not use it for quite a while now. Guilty. Now that I have a new printer, I do hope to solve the earlier problem that I had on the printing quality. If you go to my earlier post on stampmaker, you will know what I mean. It's a very common problem, I think, once I googled around for the solution. At that time, since I didn't want to waste the negative, I have printed the image twice and had it overlapped before I put in the machine. It worked well.
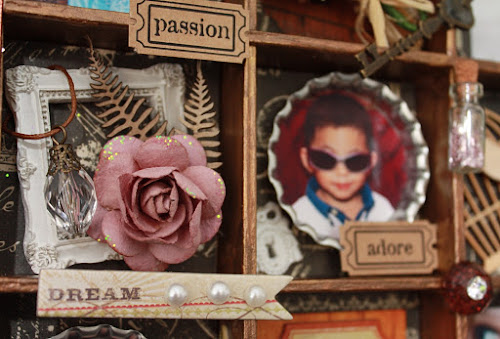
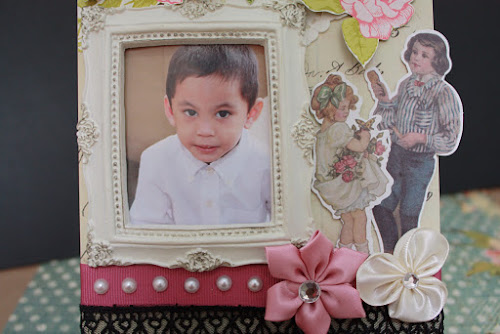
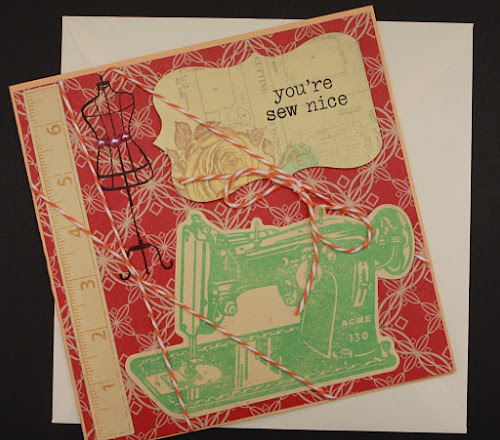
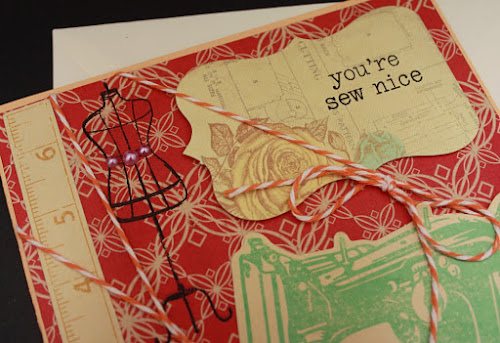
So, this weekend, I'm hoping to try a new image as shown here and see the outcome of it. I'm still browsing for new images and they have real good ones at The Graphics Fairy.
They have nice vintage images there.
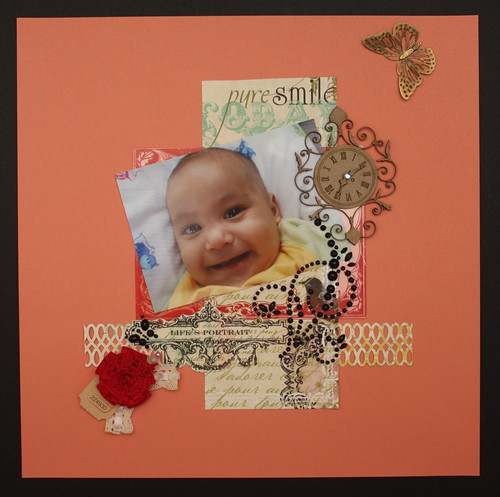
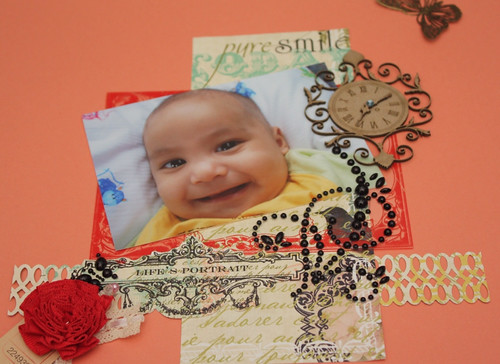
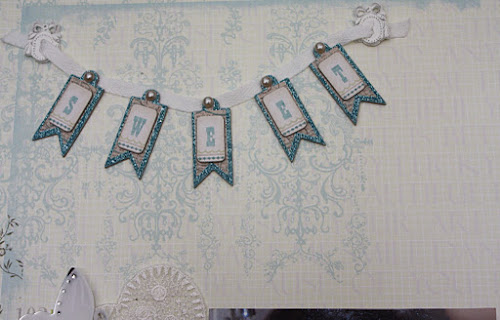
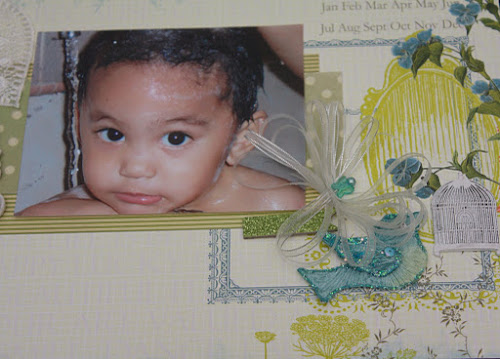
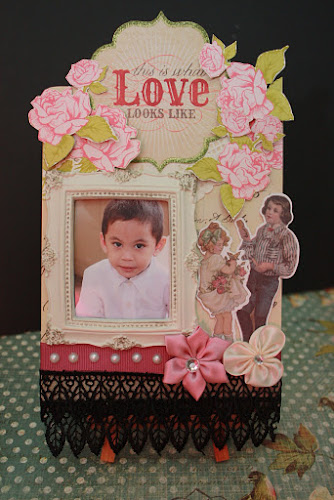
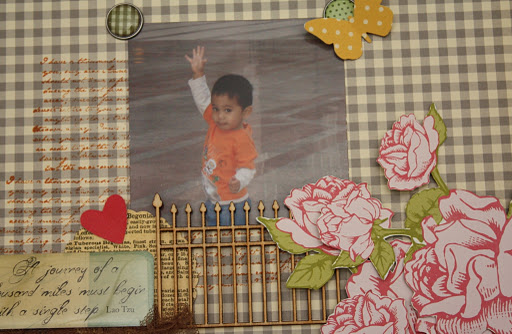
I wanted to upload a new layout, which I did a week ago but wasn't quite pleased with the end result. It's yet again another simple and clean layout and it was actually a challenge created by my mom. We went to Scrap n Crop together last 3 weeks and she has picked some items she wanted me to use for a layout. Most of them were ribbons and flowers. I even had my first try on MS paints on grungeboard alphas in this layout. Here's a glimpse of it...

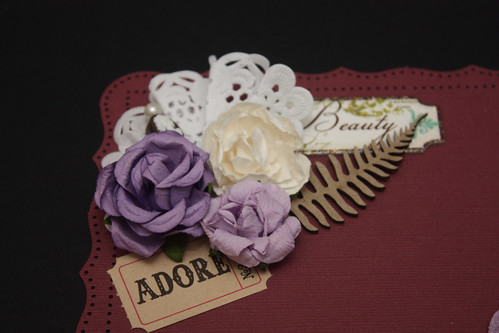
So, when I thought that i am done with this layout, I still think that I need to work on it some more. I guess my mojo was lost half way through the layout. Has that ever happened to you? I couldn't decide what else I need to complete the layout. So, here it is anyway....
Materials used for the layout:
Card stock: Bazzil Basics
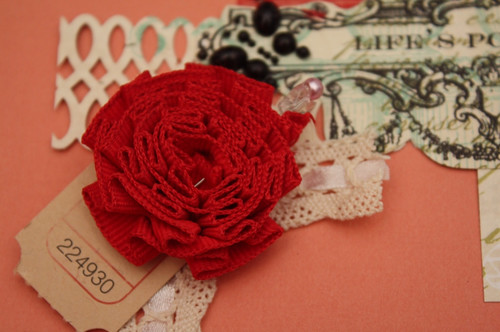
Flowers: Prima
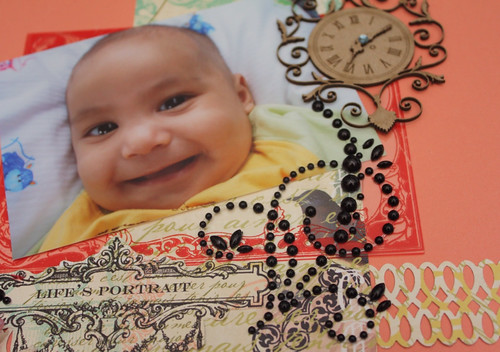
Chippie: Dusty Attic
Paint: Martha Stewart
Ribbons: emm......hmmm...
Vintage ticket ephemera: Tim Holtz's.... ( I think...)
Push pin: Webster's Pages
TFR&L! Ciao!