Saturday, September 29, 2012

Aiming High - an art journal


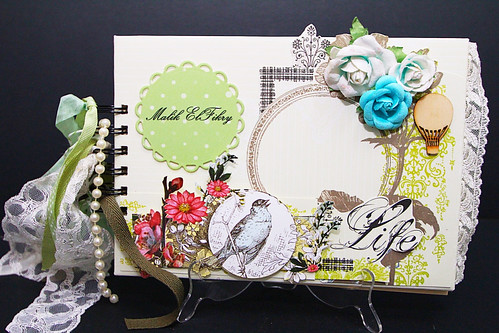
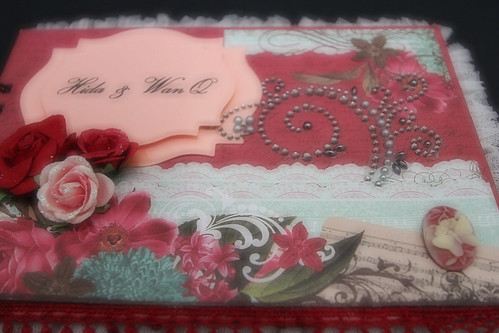
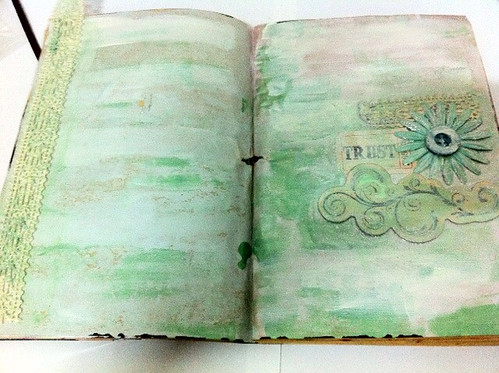
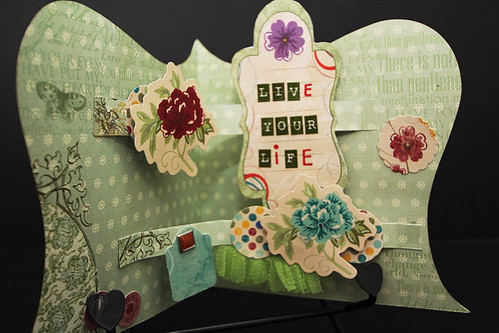
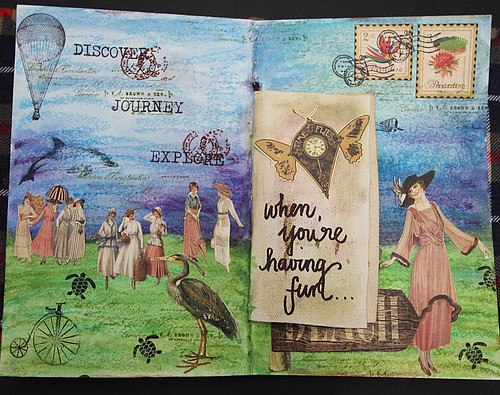
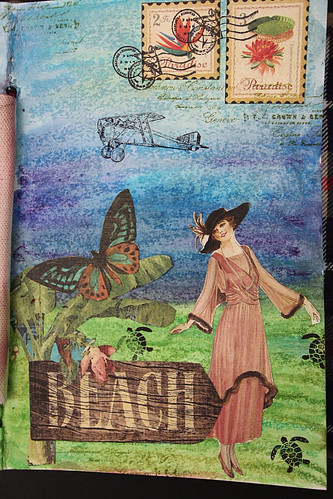
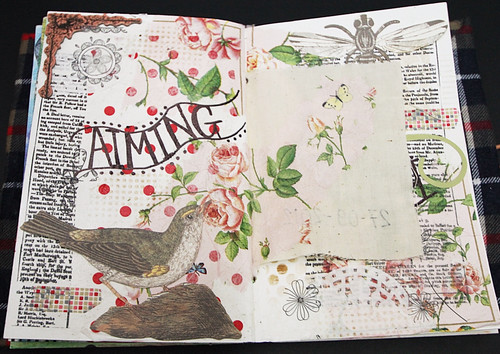
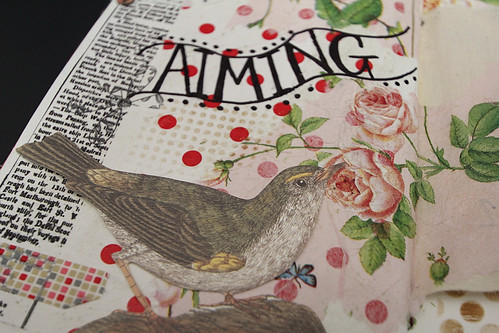
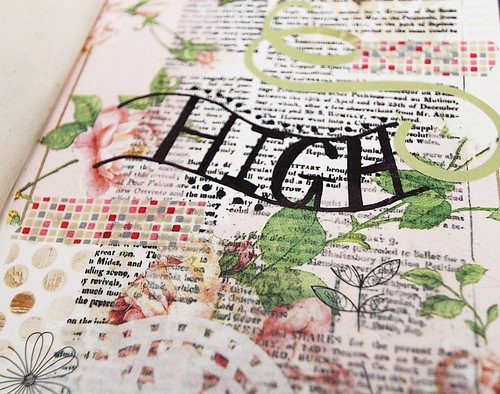
Aiming High. That's the title for this page. Recently, a few of us were called for a briefing on a new project in the office. I knew that it's going to be a big project but what I didn't know was the immensity of the total development. Wow! But that's all I can talk about it in here..hehe... I'll talk about it more when it's really out in the news; and you can count on that! Lol!

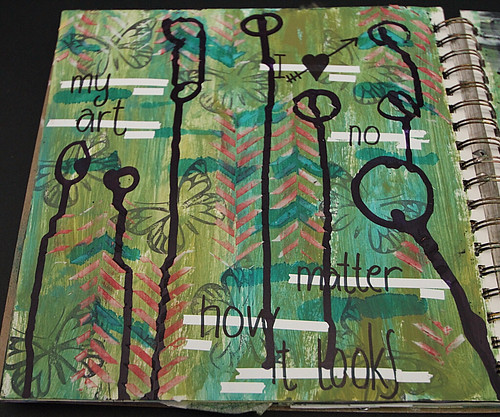
So, I guess, that explains to the title I've chosen for this page. Aiming High. Aiming higher in my working life? I dunno. Seems that the older I get, the harder the challenges at work gets. Maybe I should take a long leave and ya' know....chill out for a while...well, I'm not gonna pour it all in about work here. I should have another blog for that. Lol!

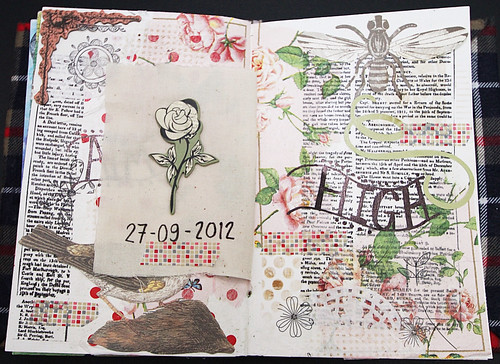
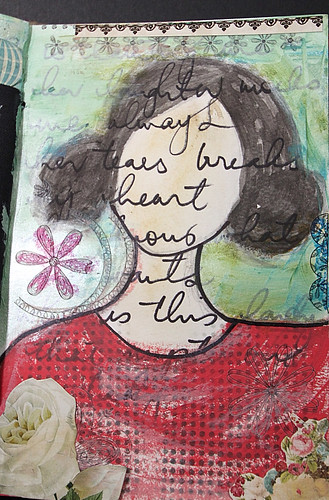
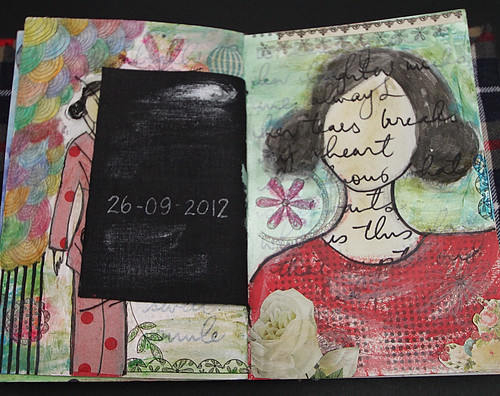
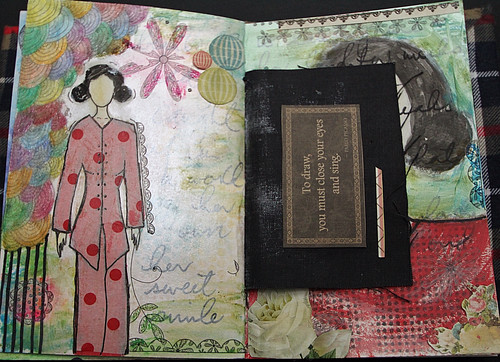
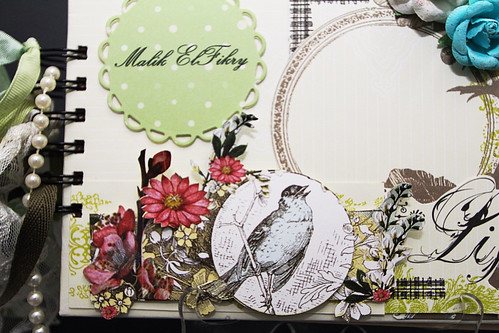
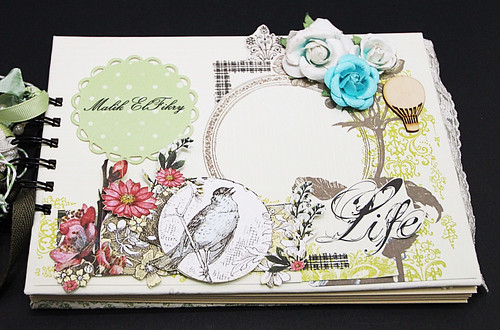
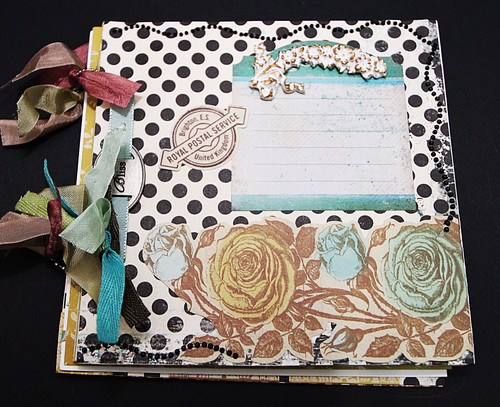
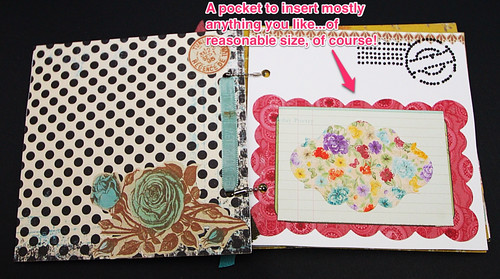
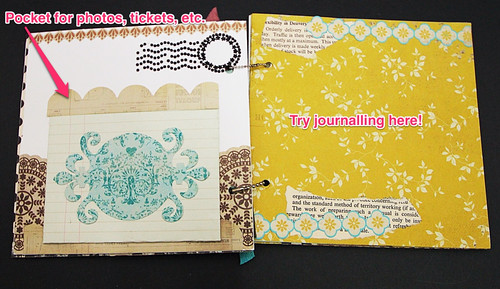
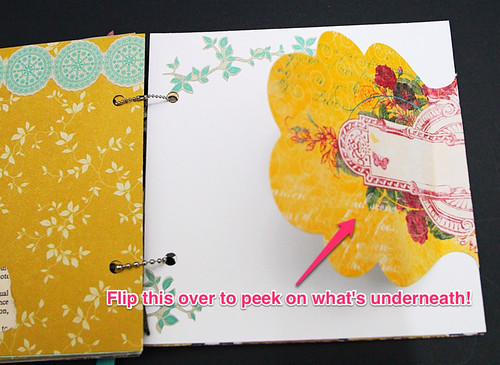
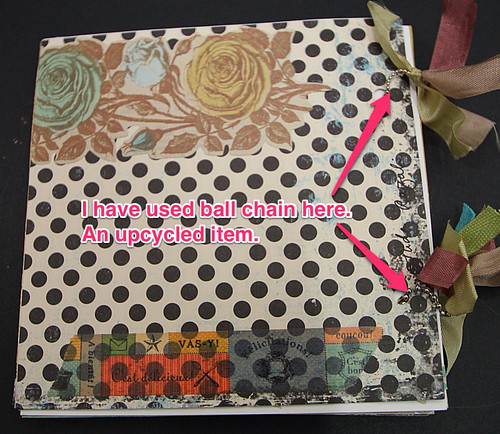
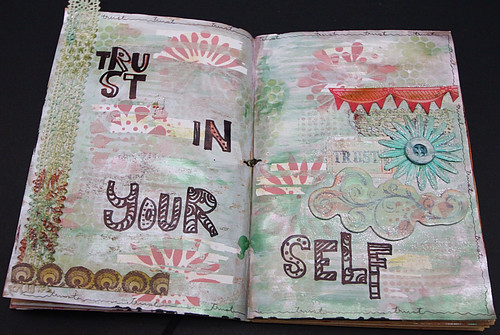
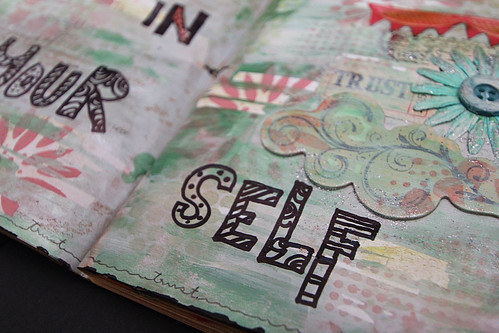
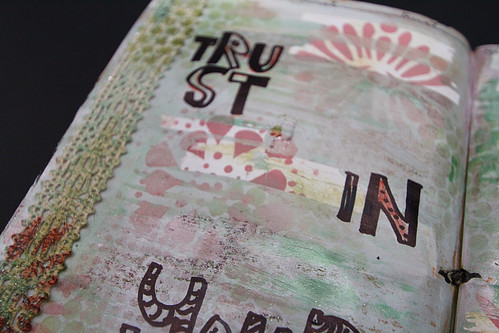
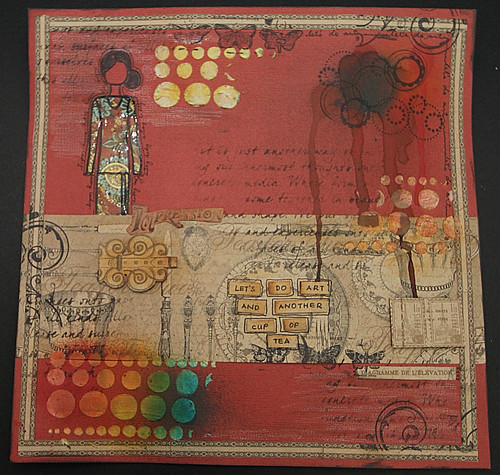
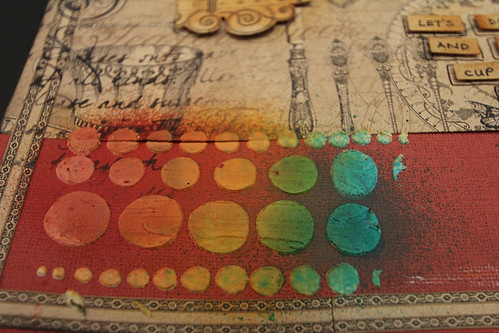
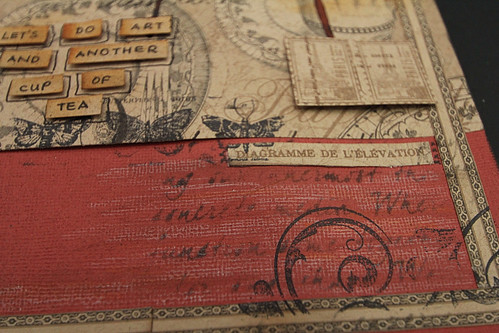
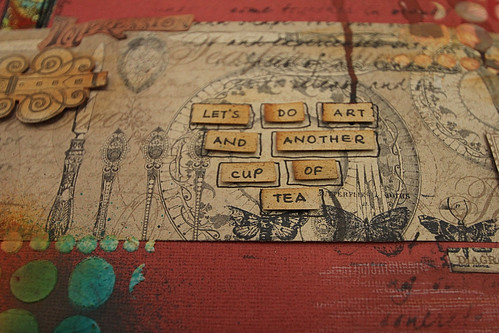
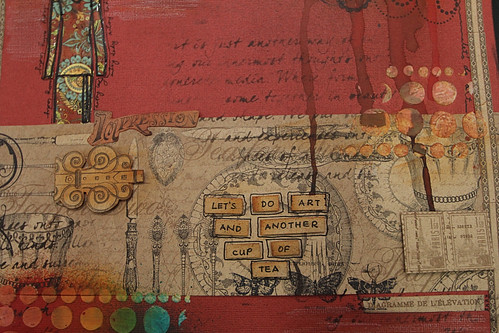
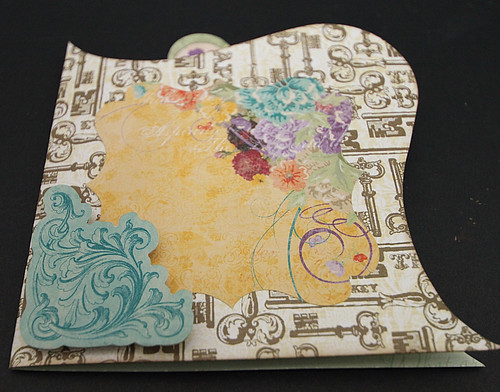
I started off this page with decoupaging tissue papers from Typo ( the red polka dot and old newspapers ) and the one that I bought from Craft Haven at (1-U) - ( flowers design ). I've also added washi tapes here from MT and thats the one with the checkered design. I have a lil' bit more of the rub-ons left overs and so I have used it here too as well as the die-cuts of a bird and a fly, and the flower and corners sticker chipboard by Prima.


Thanks for stopping by! See you soon!

Ciao!

Beautiful lady - an art journal


Hi there! Can't believe its another weekend, yes? Lol! How fast time flies..

When i first started on this page, it was totally all sketch using a pencil. I did this while i was resting on my bed one night, preparing to go to bed. I think it was on the table by my bed for about 2-3 days. Finally, i decided to give it some colours.

I have used here acrylic paints, some gelatos, black gesso, distress inks, old rub-ons, gel beads, water-colour pencils, sharpie in black for the journalling on the background and also a tissue paper by Typo.

The cut-out flowers at the bottom corners above are from Webster's Pages and Prima's packaging!

Some of the journalling above reads.. " her laughter mocks me always, her tears breaks my heart.."

"to draw you must close your eyes and sing" - Pablo Picasso. Very true indeed.

Thanks for stopping by! I'll see you soon!

Ciao!

Tuesday, September 25, 2012

Journal Album


Hi there! Have you been busy? I think I have...Lol! In the past one week, I have been busy doing a wedding guest book, a mini album, ATCs for charity and of course my new crave i.e. art journals! This is when I wish there is more than 24 hours in a day. Time flies.....

So, here's a mini album; completed last night for a cousin of mine. She wants to document her son's growth, life experiences etc etc. She doesn't want an album that is too masculine since I guess she'll be sharing her own experiences, thoughts of life in here as well. { kan?? }. I hope this meets her expectations. Lol!

It took me a day { plus other activities going on at home! } to complete this album. I wouldn't say it was easy but i guess having done 2 similar albums before, I kinda know the tips and tricks and of course; with enough material supplies.

I have used Webster's Pages paper, Prima flowers, green polka dot paper by Hero Arts, hot air balloon wooden chipboard by Kaisercraft and green polka dot ribbon by Webster's Pages. The rest of the ribbons, laces are supplies from a local sewing shop nearby.


Thanks for stopping by! See you soon!

P/s: my hands are itching to start on a new art journal next!!

Monday, September 24, 2012

ATCs for charity at Papier


Hi there! I made a few ATCs (mostly from my DT kit) this week for a charity cause with Papier. We'll be selling these ATCs at RM3 each and the proceed from sale will go to MAKNA. (Majlis Kanser Nasional or the National Cancer Council) a not-for-profit social enterprise mainly tasked to pool and utilise every effort, expertise and financial aid from every faction of society, and to fight cancer and reduce the related pain, suffering and morbidity that cancer patients and their families often experience -{extract from the website}

This activity is also in conjuction with Papier Member's Day, which falls on 19th October 2012. We are also inviting everyone to contribute for this good cause and place their ATCs at the shop.

Please refer to Papier's blog for more detail here.

Thanks for stopping by!

Saturday, September 22, 2012

Wedding Guest Book


Hi there! Here's another post on Wedding Guest Book. Thanks to the happy couple who allowed me to blog about it. Lol! Since this is made upon request, I have asked for the owner's permission first. So, here it is....

Before I make a wedding guest book, i would normally find out a little bit about the person. I will try my best to include an element of who the person really is instead of so much focusing on the wedding theme. After all, this wedding guest book is going to stay with her for a longer period of time as compared to the wedding dresses, dais, wedding canopies of chosen colour theme and etc etc. I didn't make one for me on my own wedding but if I did, eventually, I think it would turn out to be more like a scrapbook album where I would be adding my photos, movie tickets { during those dating days, if you still keep it..lol! }, love notes etc.

I've chosen the main colour as red since it's one of her favourite. She's not so much into pastel but I have added a splash of pink, white just so that it; hopefully, Mom will be happy too...{ yes? }. Of course, somehow, people always associated weddings with white, soft pinks...and so on...

I hope I'm not being over dramatic on the ribbons, pearls and laces there on the ring binder. Lol! I have used a bigger ring binder here to accommodate for the increasing thickness later if she decides to add on photos, tickets, what nots!


Materials used:

Patterned Papers: Prima

Flowers: Prima

Tulle & resin embellishment: Webster's Pages

Swirling gems: Prima

Dies: Spellbinder

Inks and glitters: Rangers

Thanks for stopping by! Ciao!

A mini album for Papier

Hi there! This week at Papier I'm sharing a project on mini album using my September's DT kit from Papier. This time they are a lovely combination of 2 famous manufacturers. Can you guess what they are?

Its really quite a simple mini album. Apart from the usual embellishments, ribbons, pockets inserts, die-cuts to decorate a mini album; here, i have used a ball chain to secure the pages together. I have few of these not only the ones i bought new but also from my son's toys like key-chains etc. Some of them comes from the cheap toy vending machine! So, before you dispose off things ( even toys!! ); THINK!! Lol!

I have included some notes / pointers on my photos this time. { you must be thinking i have plenty of time! } Haha....

I call this page below a 'pekaboo page'.

On the ball chain, you can still tie ribbons etc.

Oh yes, and I have also used MT tape in this album too! They are just adorable and available in many designs - currently being sold at Papier!

Thanks for stopping by!

Btw, my next project with Papier will be on ATCs for charity. All proceed from sale goes to MAKNA (Majlis Kanser Nasional or the National Cancer Council) is a not-for-profit social enterprise mainly tasked to pool and utilise every effort, expertise and financial aid from every faction of society, and to fight cancer and reduce the related pain, suffering and morbidity that cancer patients and their families often experience.

stay tune!

Friday, September 21, 2012

Trust in Yourself - an art journal

{the original}

{the makeover}
This one goes into Art Journal Cafe...again...

Yeap, its the second one. And I don't think it was a good attempt on this one. Lol! Feels a bit...duh! Dull..... Anyways, I told you that i'll be sharing with you whether if it worked out or not, did i not? Hehe...

Here, I have used Balzer's Design stencil (TCW). I created layer and layers of inks/paints and stencils. Oh yess, and i have used correction tape here too. An idea sparked by an artsy friend from Such Pretty Canvas! Hehe...

A short post this time around. Gotta go and play with my son now cos' I think he's trying to get my attention by pulling away my iPad...lol!

See ya next time!


Thursday, September 20, 2012

Black & Orange - art journal.


The Original
The Makeover

Hi there! Firstly, this one goes into Art Journal Cafe challenge for this week - ' Save Your Page'.

Check out my previous post too for the pages that in need of a makeover! Lol!

So, here we are. Whaddya think? Better or worst? Hahaha....

I didn't let go of the black and orange cos i still think it looks acceptable to me. I just added Prima paper tapes - alphabet series and light bulb. Some stamping done in 2 colours - black and orange too. A bit of doodling. Black lace { an artsy friend's proposal taken into consideration hehehe....} and buttons!

My hand/palm print below now decorated with my journalling on art! AND, that button is supposed to resemble a ring.

Thanks for stopping by! Come again soon for the next challenge on 'Save Your Page'

TTFN!

Tuesday, September 18, 2012

Save That Page!

Oh yes indeeeed! When I learned that Art Journal Cafe is having a challenge called ' Save that Page', I instantly knew those pages that i need to work on. I have a few...and here are the first three...lol!

The first is the black and orange combo. It even had my handprint on it...haha!. I coloured one page in orange and let dry. Then i used gesso and painted only the edge of the page on the other side. I close the page together and some of the still wet black gesso was transferred on the orange side.

Then, i didnt know how to go on......hmmm......

Secondly, is the pastel green page with some embellishments on one side. Well, i was Finnabair inspired when i did this....hehe..

Upon fixing of the embellies, i kinda lost my 'fins' and my thoughts went high in the 'air'! Hehe...

Thirdly, a very bright coloured page this one is! Yes, i coloured the whole page in red. When dried, i applied another coat of cream coloured paint on one side and close the page together. Wet paints get transferred on the other side. I wanted to make use of a Prima packaging, so i have added alcohol inks in the 'round capsules' and then, fixed it to the page.

And then, well, i got stuck.

So, call it unfinished pages or destroyed pages; for me, these ones need some uplifting work to be done. A major one maybe......hehe....

Watch this space folks for the new makeover! I can't promise or guarantee that these are going to be a successful makeover but even if they still don't work out; i will still share it with you.

i'll be seeing you soon!


Friday, September 14, 2012

MyArT - an art journal

Hi there! Today I would like to share with you an art journal entitled 'My Art' -and I love it no matter how it looks! Lol!!
Ok, so that's the problem with procrastination. I did this more than a month ago and now I can't really remember the exact details on how I created this page. Lemme see.....hmmmm.......{thinking!}
Ok, here goes:
1) I gesso'ed the whole page first and waited for it to dry.
2) stamped the butterflies all over - Hero Art and Ranger Archival ink.
3) painted the page with acrylic paint in green by Folk Art. After that, I sprayed water to create a diluted/ runny effect on some areas
{ the item 2 and 3 above is to create the background for the page}
4) using stencil with herringbone design by TCW, i applied a white texture medium by Liquitex onto it and let dry. Once dried, i swiped distress ink onto it - unevenly.
5) since i feel guilty for not using my alcohol inks for a long time, i decided to incorporate it here. You can probably tell where it is ....yes, those green patches...
6) i used correction tape here too then journaled on it using a black Sharpie
7) Lastly, an acrylic ink in black - made small circles and let the excess runs down the page
 

That's it folks! Thanks for stopping by! I'll see you soon!

TTFN!


Let's Do Art and Tea?


Hi there! It's Friday! Yayy for that cos' weekend is starting very soon and it's a long one too since Monday is our Malaysia Day. Happy Malaysia Day to fellow Malaysians!!

Today, I would like share with you a 12x12 layout -'Let's Do Art and Tea?'. I was thinking to put this in a frame later and hang it on the wall in my craft room. The room is in need of decorations on the wall. Badly. It's practically empty at the moment. How boring! Hehehe.....

Ok, lemme see....hmmm.... I have used bits and pieces of scraps from left-over projects I did for Papier and that is the G45 paper. This is a mixed-media project where i have used mediums such as inks, white gel medium and paints.

As shown below, i have incorporated stamping using Hero Arts stamps with ink by Ranger. Later, I sprayed with Dylusions. I have also used stencil by TCW here.

I just love the effect below. Looks like a rainbow cake to me. Lol! Here i have used the gel medium white and worked it on stencil by TCW. When dried, I sprayed with Dyslusions. Yummeh...!!!

Below, I swiped white pigment ink using paper towel onto the page; after the stamping was done.

I sketched out the lady and trace the dress onto scraps of G45. Cut out, paste it onto the sketch and added clear dimensional glossy paint onto the dress. You would probably able to tell that I'm quite influenced by Christy Tomlinson here...lol!

So that's all folks. Thanks for stopping by! I'll see you soon!

Bye!

Monday, September 10, 2012

Fangorn Forest - an art journal


Hi there! It's another art journal today. I made this like -- a month ago!!

If you are a Lord of The Rings fan, you would definitely know the Fangorn Forest. It's the forest where the 2 hobbits; Merry and Pippin went into after escaping from the Orcs and met Treebeard, an old Ent. It's also the place where Aragorn, Legolas and Gimli first met with the White Wizard.

Lol! Yes, I am a fan indeed of LOTR. And here's an art journal dedicated to it!! Fangorn Forest. I wrote " Fangorn Forest, a world full of mystery and darkness prevails..awakens the slumber of the tree giant...Aragorn, Legolas, Gimli in search of the lost hobbits only to find the White Wizard...."

I pictured Fangorn as dark, eerie and mysterious. I used black gesso and covered the whole page with it. When dried, I stamped trees and leaves pattern onto the page using a white pigment ink by Staz- On.

Then, I have used acrylic ink in orange-brownish and swiped on the page to create a layer for journalling. And that's about it..lol!

Thanks for stopping by!

Maybe you would like to share with me your favourite movies on your art journal? Have fun!

Ciao!

Live Your Life - a card

Hello friends! Last week at Papier,I have shared a simple card using items from my DT kit.

I made this card using the Webster's Pages paper ( die-cut) and also Bo Bunny's. I've never done such card before and when thinking of new ideas to share, this just pop right in! Bottom line is, don't be afraid to try and explore new things. I guess here, I'm a liittle bit out of my comfort zone but it was fun doing this nevertheless ...lol!

These items are mostly from my DT kit.

The WP's was cut into half hence the 'kinda' odd shape. Hehehe...{I didn't want to waste..}

It's really quite simple to do this card. I wanted to have something like a 'pop-up' effect hence I created firstly the strip of paper about half an inch wide and glued it onto both sides of the paper making sure that when I open the card; the strips will go taut. By the way, the card won't open flat when you do this { can it? Hehe! }

Then, all you need to do next is add embellishments onto the strips. Simple, yes?!

Materials:

Papers: Webster's Pages, Bo Bunny

Alpha stickers: Glitz

Thanks for stopping by and see you soon!


Thursday, September 6, 2012

Beach - an art journal

Hi there! It seems that I can't get enough of my new gelatos. It's addictive, I tell ya'! They are cute like lipsticks and comes in great colours! I have used them too on my previous 3 posts! 2 for the challenge in Art Journal Cafe and the other one is a collage on canvas. I had so much fun!

Here's sharing another art journal using these gelatos!

On this page, I have used 2 sets of colours i.e. the greens and the blues. I decided to do a scene near a beach. { always fond of the sea! }

Here's how:

1) applied the blue and green gelatos on upper and bottom part of each page. then spray some water and start the blending. wait until dry.

2) while waiting for the page to dry, I cut out the ladies from Graphic45's Ladies Diary and the butterflies from Steampunk Debutante and also the word Beach & banana tree, stamps image from another Graphic45 ( forgot the name! ). Glued them onto page.

3) next, lotsa stamping - { Got a lil' bit carried away! Lol! } using stamps by Kaisercraft, Prima and Hero Arts. Can you see the hot air balloon and an aeroplane high in the air? Lol! oh yess! And a dolphin just jumped out of the water.... Hehehe...

4) this is a turtle conservatory zone - hence the baby turtles... Lol! The baby turtles have just begun a new journey in life.

4) I have saved some from the gelatos packaging and glued it on the leather-like fabric piece. Not going to waste that!

5) and that was basically it. The only thing that took some time for me to work on was cutting out the ladies from the G45 paper.

6) Time flies when you're having fun! How true! I didn't notice the time at all when doing this until my son called me to tuck him to bed! Lol!

So, feast your eyes on more snapshots below. If you haven't tried the gelatos yet, by all means, do go get them and try!! Do share with me if you have done any.

{ it's not what you look at that matters, it's what you see }

Thanks for stopping and taking the time to read. I'll see you soon!

Ciao!


LinkWithin

Related Posts Plugin for WordPress, Blogger...